Crafting with Aquamarine: A Journey from Earth to Adornment
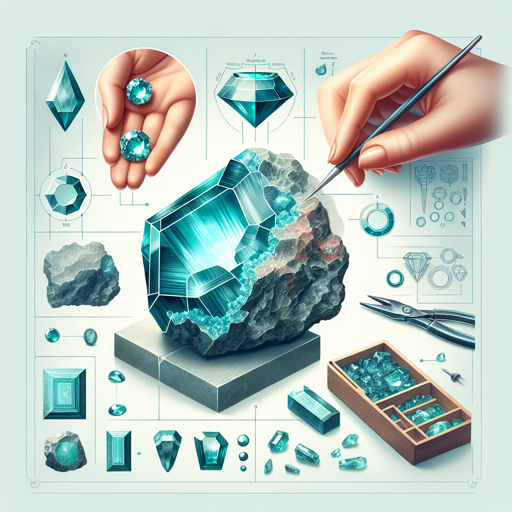
A glimpse into the intricate process of cutting and setting aquamarine in fine jewelry.

Crafting with Aquamarine: A Journey from Earth to Adornment
Introduction
In the realm of gemstones, few offer the serene beauty and charm of aquamarine. Its enchanting blue color, reminiscent of the sea, combined with its crystal-clear transparency, make it a beloved gemstone among jewelry designers and enthusiasts alike. This article delves into the intricate and fascinating process of cutting and setting this delightful gemstone in jewelry.
Aquamarine: A Brief Overview
Aquamarine, named for the Latin phrase “water of the sea”, is a blue to green-blue variety of the mineral beryl. It’s known for its excellent clarity and transparency, making it a perfect choice for gem cutters. Before these stunning gemstones reach the jeweler’s bench, they are formed deep within the Earth’s crust, where high pressures and temperatures foster the growth of beautiful beryl crystals.
Cutting Aquamarine: An Art and Science
Gem cutting, or lapidary, is both an art and a science. It requires a deep understanding of the gemstone’s physical properties and a keen eye for maximizing its beauty. Aquamarine, with its hardness of 7.5 to 8 on the Mohs scale, provides an ideal canvas for the gem cutter’s art.
Factors to Consider
When cutting aquamarine, the cutter must consider several factors:
-
Color: The goal is to maximize the stone’s beautiful blue color. Cutters often employ certain cuts, like the emerald cut, to deepen the color.
-
Clarity: Aquamarine is known for its exceptional clarity. Cutters aim to showcase this attribute by using cuts that allow light to pass through the stone, accentuating its transparency.
-
Carat Weight: Cutters strive to retain as much weight as possible without compromising the gem’s beauty. This involves careful planning and precision cutting.
Here’s a comparison of some popular cuts used for aquamarine:
| Cut | Description | Benefits |
|---|---|---|
| Round Brilliant | A cut with numerous facets that maximize the stone’s brilliance. | Showcases aquamarine’s transparency and clarity. |
| Emerald | A rectangular cut with truncated corners, typically with a step cut. | Deepens the color and highlights the stone’s clarity. |
| Oval | An elongated version of the round cut. | Maximizes carat weight and showcases the gem’s color and clarity. |
Setting Aquamarine: The Final Touch
Once the aquamarine is cut and polished, it’s ready to be set in jewelry. The setting must not only secure the gem but also complement its beauty. Jewelers often use prong, bezel, or channel settings for aquamarine, each offering a unique aesthetic appeal.
“Every gemstone has a story to tell. The jeweler’s task is to give it a voice.” - Unknown
Conclusion
Crafting with aquamarine is an intricate process that requires expertise, precision, and an artistic touch. From cutting the gem to maximize its color and clarity, to choosing the perfect setting to complement its beauty, every step is crucial in transforming the aquamarine from a raw mineral into a piece of wearable art.
For those interested in learning more about this captivating process, the Gemological Institute of America offers comprehensive resources and courses on gemology and jewelry making.
This article provides a glimpse into the fascinating journey of aquamarine from its formation in the Earth’s crust, through the meticulous process of cutting and setting, to its final destination as a captivating piece of jewelry.